| View previous topic :: View next topic |
| Author |
Message |
likwidfolife
Pop Shuvit

Joined: 30 Apr 2009
Posts: 228
City: DFW
|
 Posted: Sep 05, 2012 9:50 pm Post subject: DIY ~ Extending the life of a board with broken top concave Posted: Sep 05, 2012 9:50 pm Post subject: DIY ~ Extending the life of a board with broken top concave |
 |
|
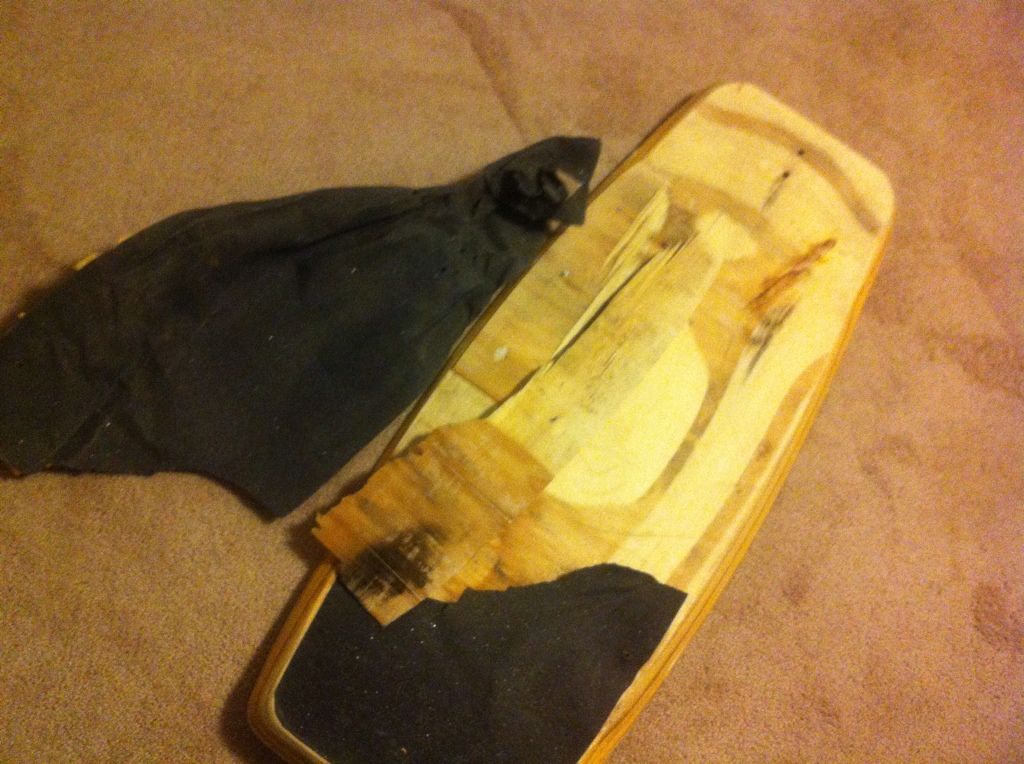
So there's this particular board i like to ride, i love the shape and the edges the rocker etc. But for a long time i was reluctant to keep buying them because they didnt last very long. The top concave on them always seemed to split and it would break off and eventually become the demise of the board being ride-able.
Well i figured i would repair the board and make it last quite a bit longer.
I thought fiberglassing the concave and sidewalls would hold it together and keep it from splitting again.
I really like how it turned out so I just thought i would share it with everybody and show to do so. ~
First you'll need the board. (With the broken peice of top concave of course) You will need to remove all of the existing griptape on the board. If just muscled all mine off by ripping it. If your having trouble doing so a blowdryer or heat gun will help aid in the removal of the existing grip.
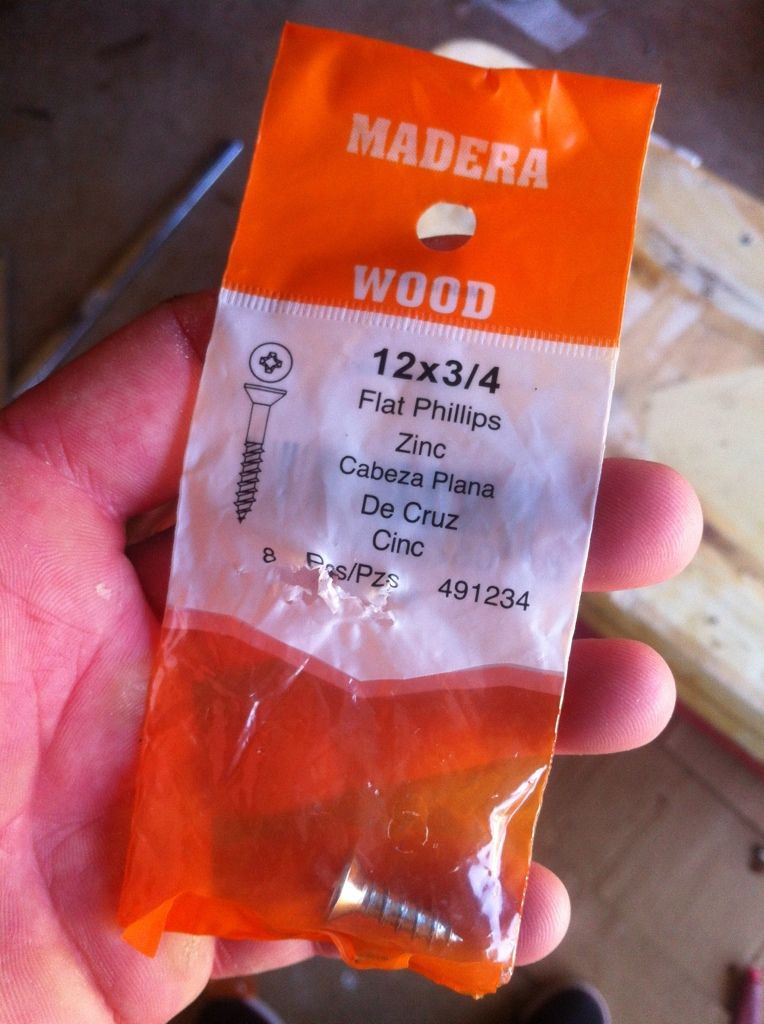
You'll need to buy some screws as well. Make sure you don't get anything over 3/4 inch because they tend go through all the way thru the bottom base of the board. I got 12 pitch because that was the largest I could find in 3/4 inch. the thicker the screws the more bite it will have to ensure fastening into the concave for extra reinforcement. I purchased these at lowes in the hardware section.
You will Also need a sheet of 3M fiberglass, they come in a single sheet packages. One sheet is good enough Cover the Whole Board.
You will need an Epoxy Resin and hardener kit as well. West Marine Sells a Marine grade kit that is eco-friendly but also a bit pricey. You can also get some that will also do a decent job at Lowes for a bit less.
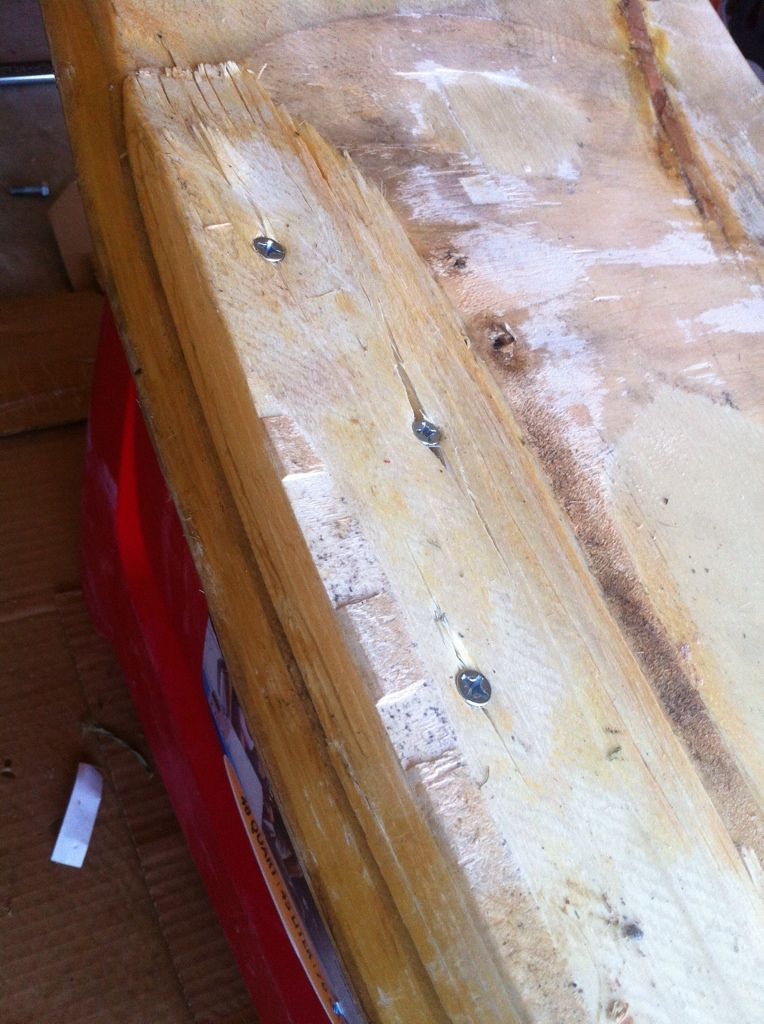
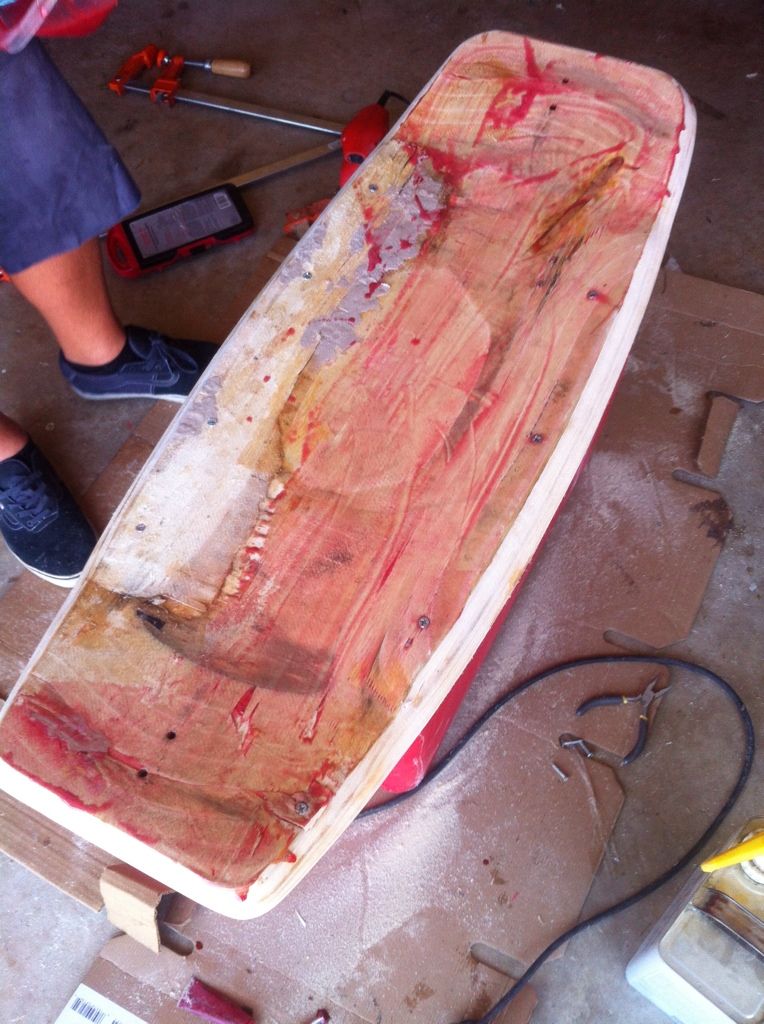
Okay Moving on... - Next step would be to fasten the concave back onto the board with the 3/4 inch screws. I used 5 Screws total on the broken side and 3 on the still intact side to ensure it would stay put (also to possibly evenly distribute weight). I would not use more than 5. ideally if you do this before the concave completely comes of you could get away with just 2 on each side to cut down on added weight.
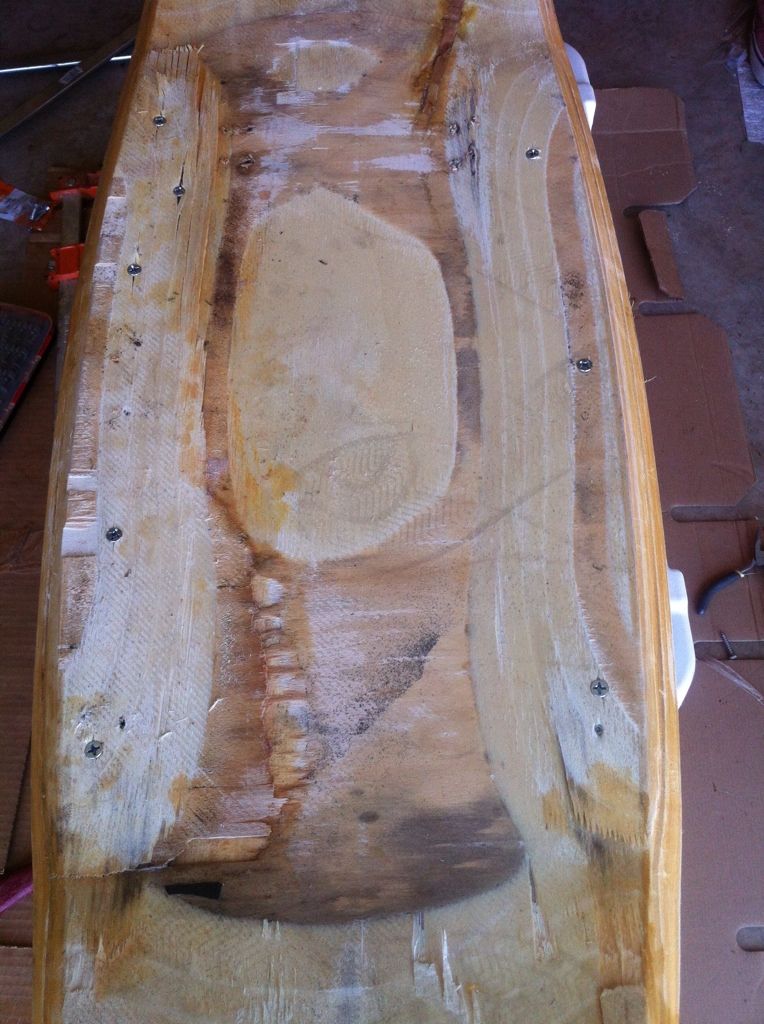
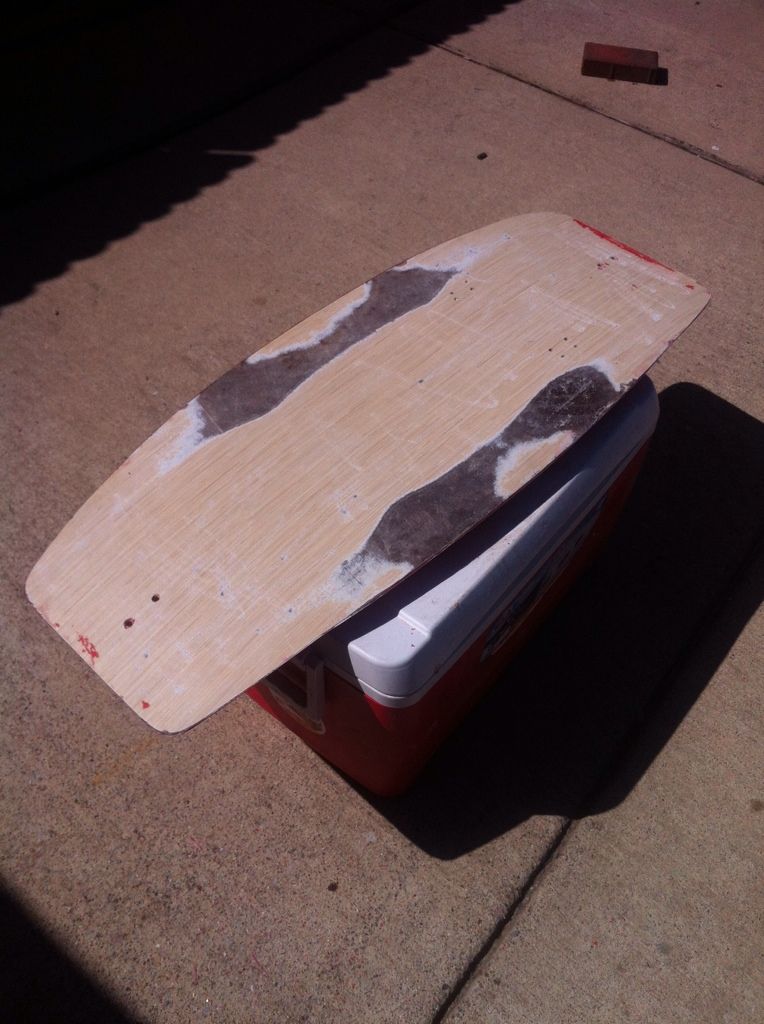
After fastening it down we got a belt sander and sanded the sidewalls of the board to give the epoxy a better surface to adhere to. We also sanded the top to knock down the gap as much as possible and remedy the change in shape after putting the concave back in place. But Since the concave completely broken off when fastening it back down it created at bit of an abrupt drop. We used some wood putty filler to fill the abrupt change in the concave so it is not as near noticeable.
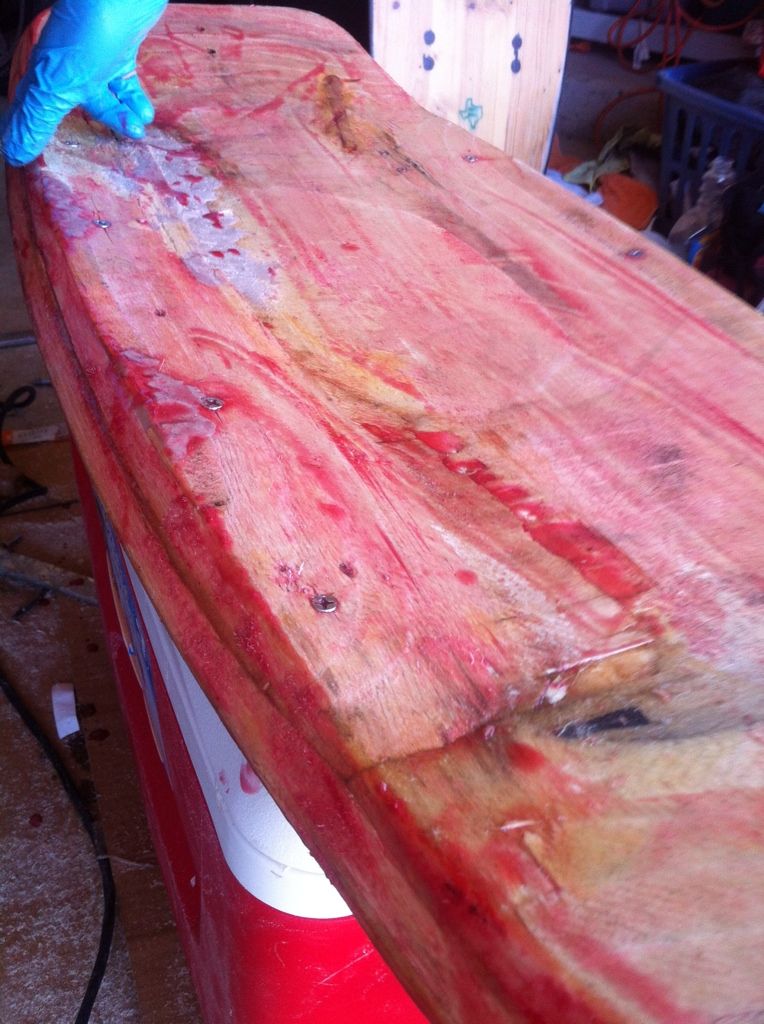
After that is done it is time to mix up your epoxy resin and get to putting on the basecoat. Dribble some on the board in various places and then use a bondo spreader/spatula (these are sometimes included in the resin kits) to spread it around. Make sure you also get a good base coat of resin onto the sidewalls where the fiberglass matting is going to be layed down. We added some red dye to our epoxy to give it a custom look as well.
After Applying the basecoat of epoxy you can now lay down your Fiberglass sheet on the board. Make sure that it overlays your sidewalls and covers from nose to tail of you board.
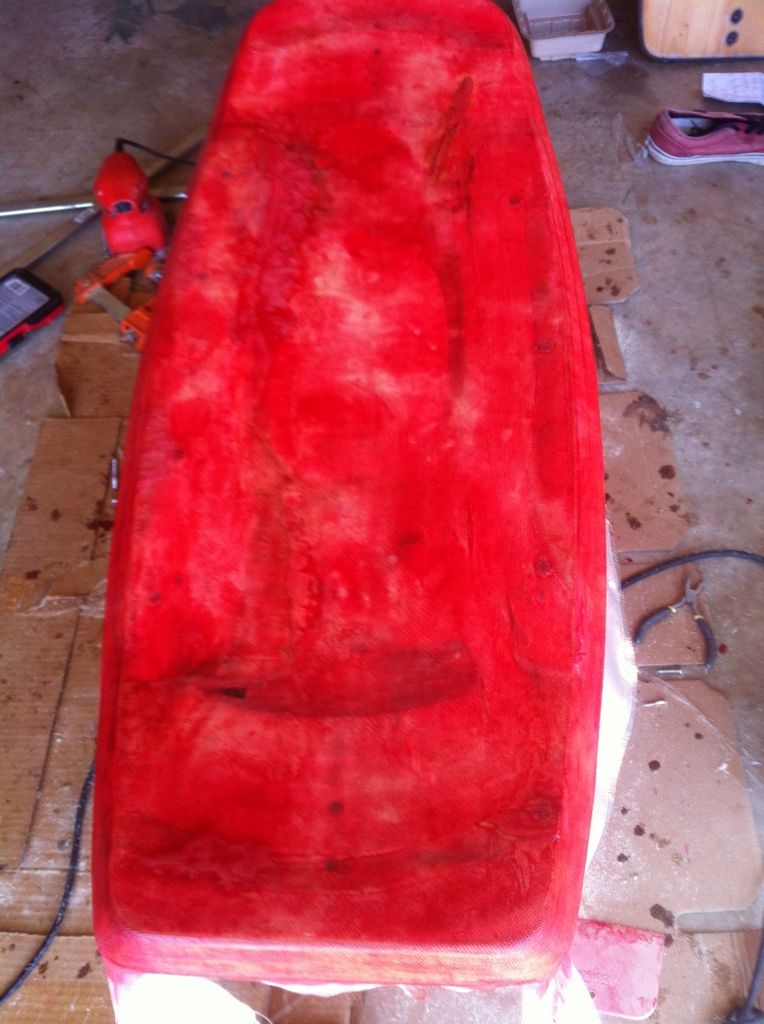
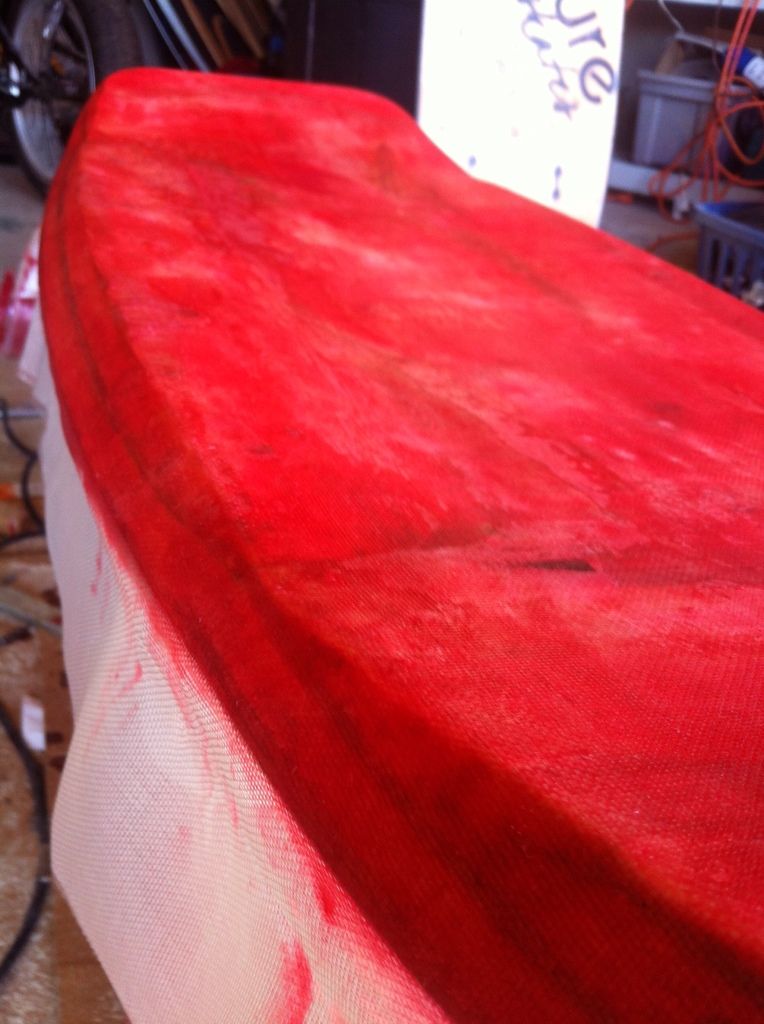
Once its down you can work the basecoat of epoxy into the fiberglass getting it adhere to board. Be sure to work the wrinkles out of the fiberglass and see to it that it sits evenly. apply more expoxy to the top of the fiberglass working it in as well as the sidewalls too. Used the bondo spreader/spatula as needed for this. Also use your hands (with rubber disposable gloves of course) to work the resin into the fiberglass giving it a good even layer. When its done it should look something like this
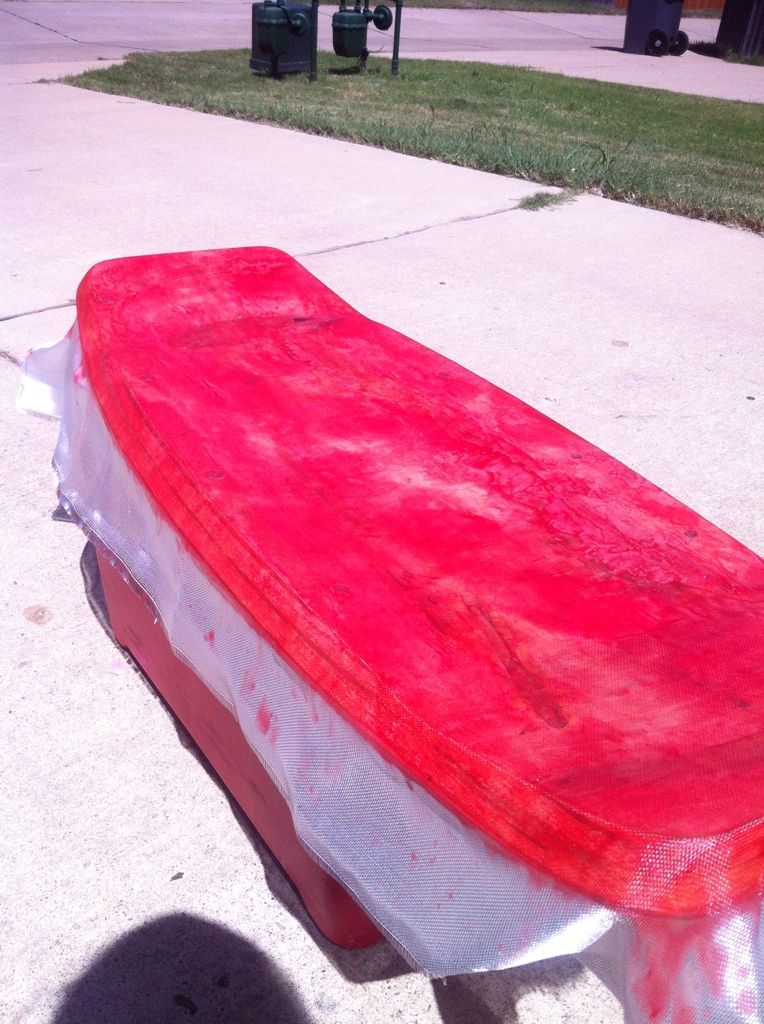
Once that is done you can lay it outside in the sun the speed up the epoxy curing process
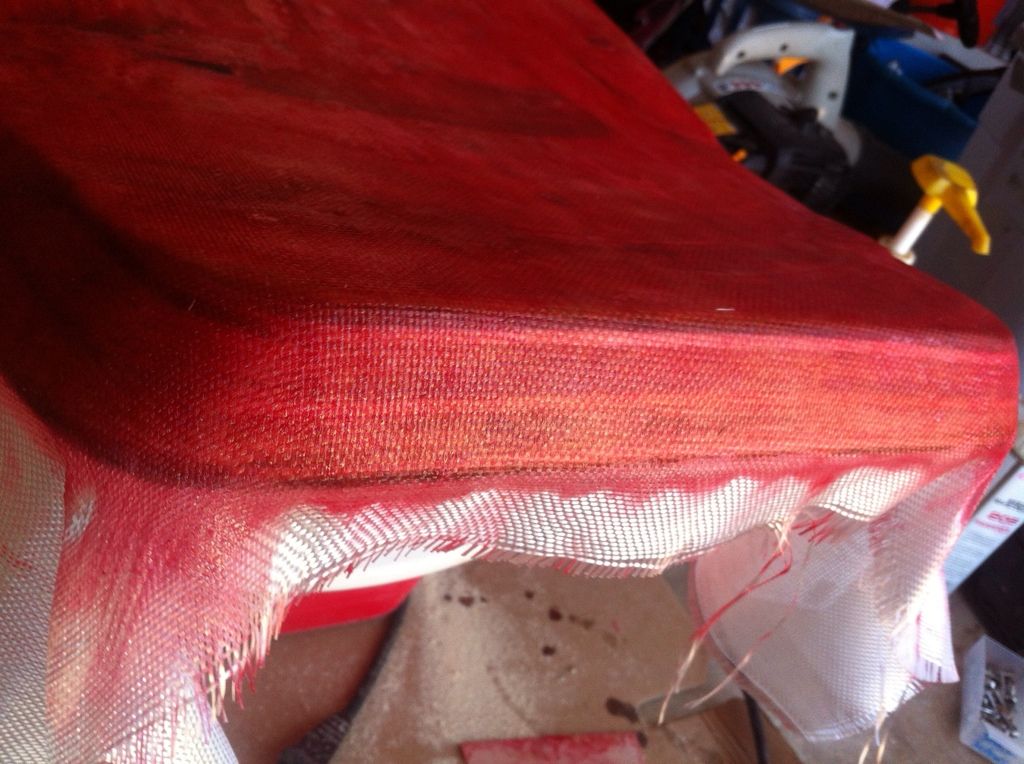
After a few hours it should be dry depending on how much hardener you used. If your mixing ratio was correct it should ready to trim away the excess Fiberglass near the base of the board,
Now get a fresh razor blade, fresh razors cut the best as always and trim the excess Matting away using a similar technique you would use to grip a skateboard/wakeskate with griptape. Another optional but good idea to do it sand down the edges of the board to flushen up where the glass meets the bottom ply so it does not have a sharp edge.
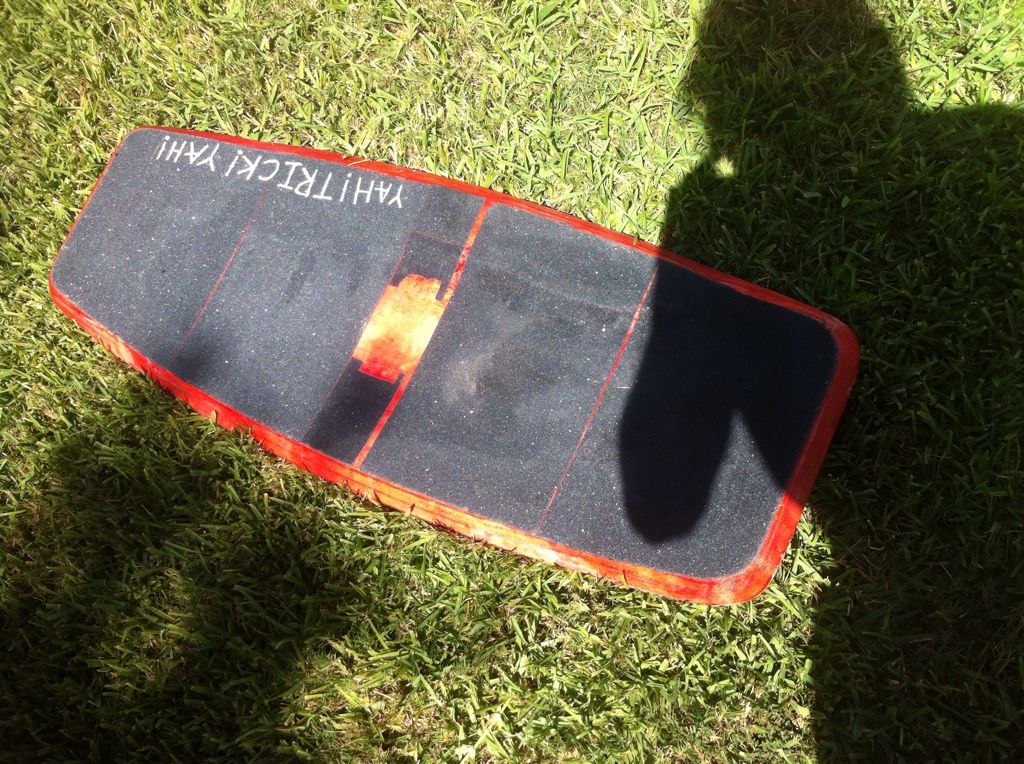
After that you will need to re-grip the top and it should be good to go!
* I also added a layer of epoxy to the base for durability. I will follow up with another post of some of the pics of it. |
|
| Back to top |
|
 |
|
|
Evan71
Kickflip

Joined: 22 Aug 2006
Posts: 3045
City: Santa Barbara
|
|
| Back to top |
|
|
jdarr
Frontside 180

Joined: 07 Nov 2011
Posts: 422
City: Bradenton
|
| Posted: Sep 06, 2012 8:49 am Post subject: |
|
|
| Im guessing it was an impulse |
|
| Back to top |
|
|
Slapdown
Kickflip

Joined: 20 Apr 2005
Posts: 4240
City: Austin
|
| Posted: Sep 06, 2012 9:29 am Post subject: |
|
|
Very nice! I love seeing people getting crafty with wakeskates. Really nice instructional man 
_________________
- Evan Molina |
|
| Back to top |
|
|
88skisupreme
Backside 180


Joined: 11 Nov 2004
Posts: 1342
City: ATX
|
| Posted: Sep 06, 2012 11:13 am Post subject: |
|
|
so how much does each screw weigh?  |
|
| Back to top |
|
|
adeguzman
Ollie

Joined: 08 Sep 2010
Posts: 73
City: Manteca
|
| Posted: Sep 06, 2012 11:17 am Post subject: |
|
|
| I had a Heritage that split like that in only a month. A few weeks later I saw GD at OWC and he fiber glasses his board before even using it. |
|
| Back to top |
|
|
thatwasrad
Frontside 180

Joined: 28 Jul 2009
Posts: 434
City: San Jose
|
|
| Back to top |
|
|
ArcticSkate'n
Pop Shuvit
Joined: 13 Aug 2012
Posts: 144
City: Maitland
|
| Posted: Sep 06, 2012 4:40 pm Post subject: |
|
|
Looks like that thing is gonna hold up now! 
One thing I would recommend is drilling a small pilot holes and use a countersink bit to let the screw heads sit a little below the top surface of the deck. You can fill over top of the screw heads with wood putty then resin/fiberglass...just a observation. Nice work man! |
|
| Back to top |
|
|
likwidfolife
Pop Shuvit
Joined: 30 Apr 2009
Posts: 228
City: DFW
|
| Posted: Sep 09, 2012 2:45 pm Post subject: |
|
|
| jdarr wrote: | | Im guessing it was an impulse |
^^^ Correct Jdarr
As far the weight of the screws, not exactly sure. All of them total being 8 probably totaled a couple ounces. With the epoxy mixoed up and the resin added i think it added a total of about half a pound. Or so it feels like atleast half a pound. Im gonna put it on a postage scale in the next few days and see what it really weighs. It is definitely noticeable
The board is holding up great tho, been riding for about week since i did the repair and it is solid.
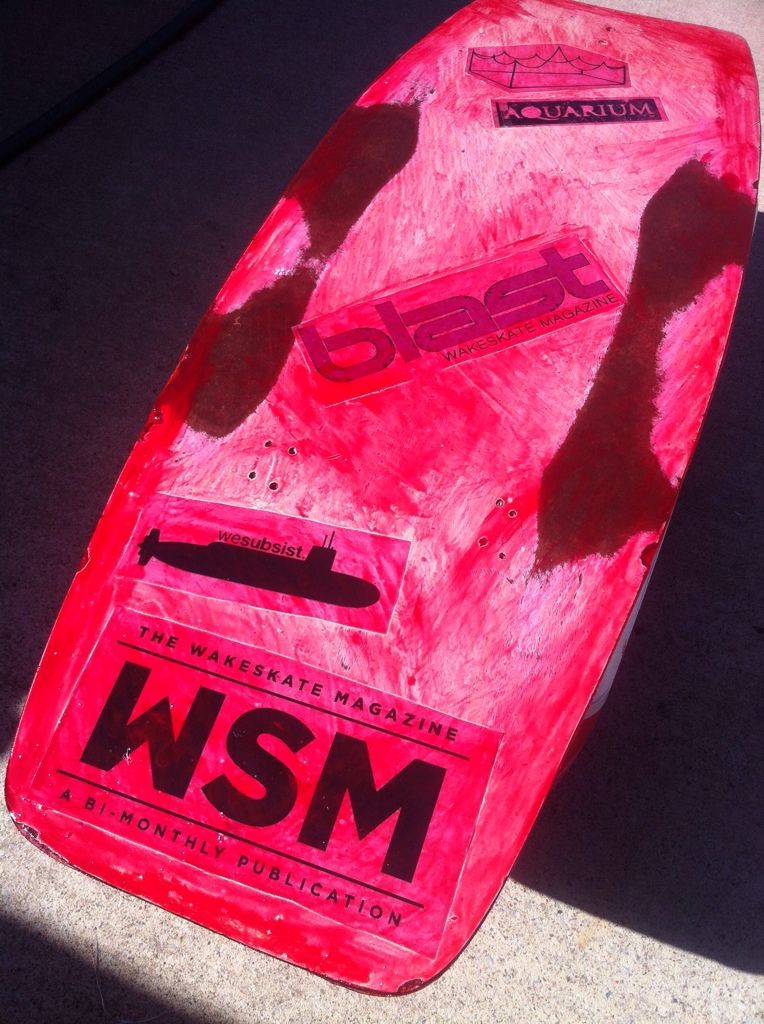
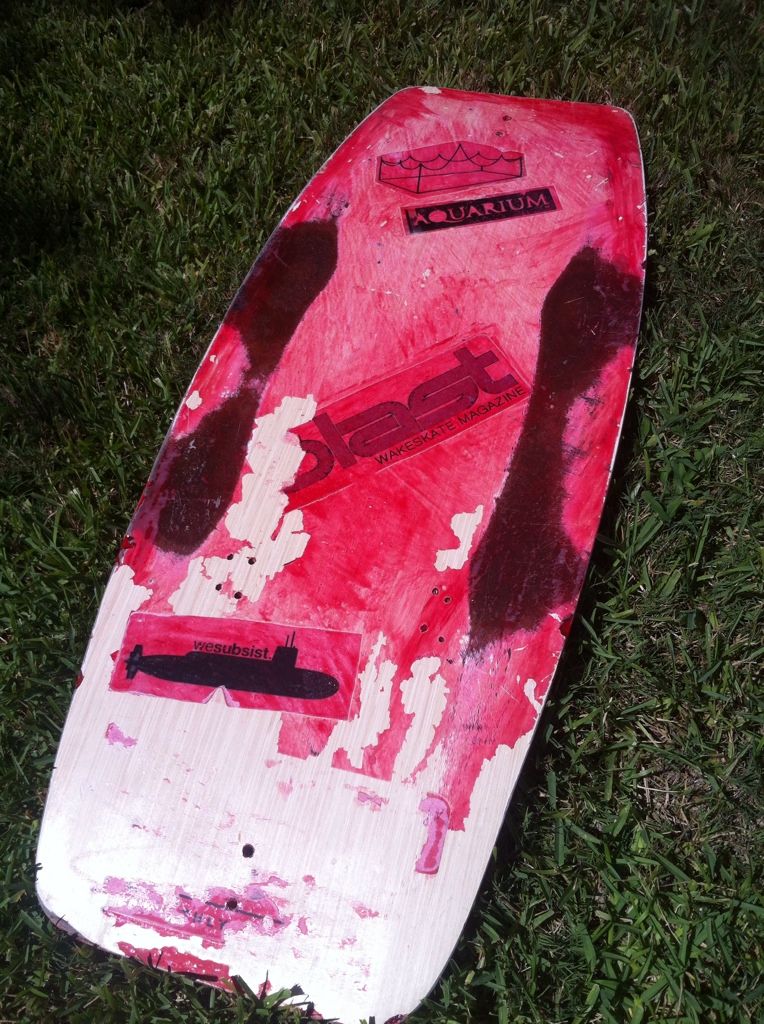
Here are some photos of the bottom. I put a layer of epoxy on the bottom to fill in the gap between where the base of the board and the fiberglass matting ends.
I got kinda carried away and printed out some logos and slapped resin all over them and then pasted them to the board. Some of them are still there but others are coming off the more i ride it.
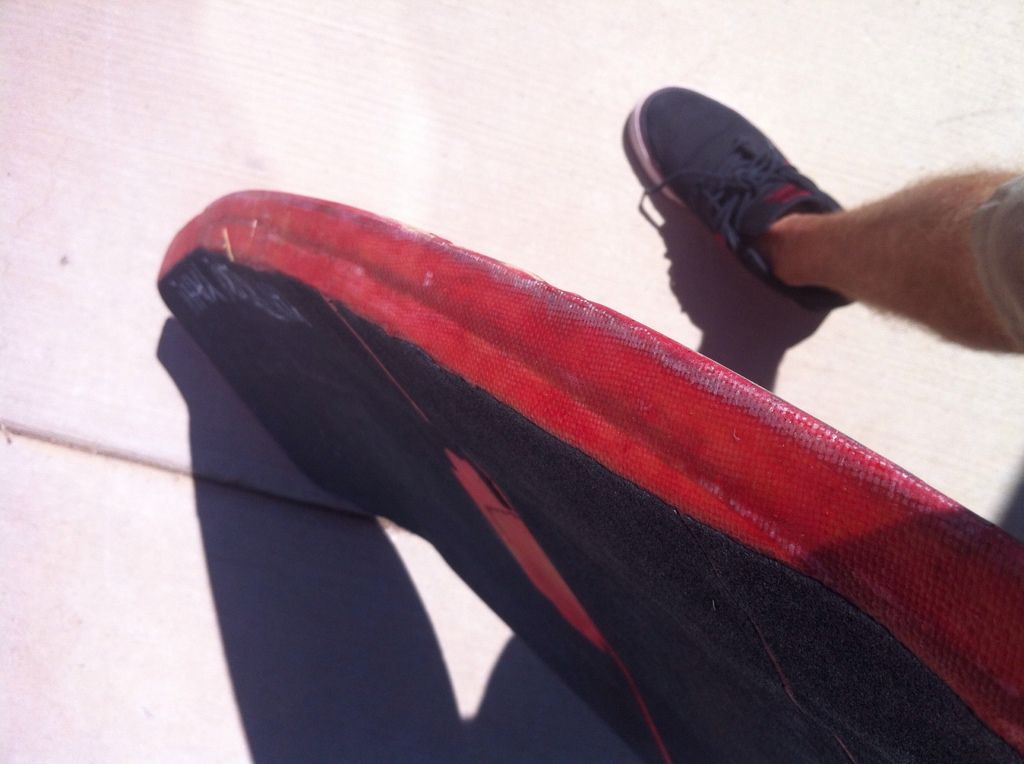
The edges were super sharp and and kind of grabby after doing it all dried. I think the bottom layer also added some of the noticeable weight.
Looks like a bloody damn mess too!
This is the board after sanding down the edges, rounding them down, shralpage and hitting rails at hydrous. I will say the epoxy layer did make it noticeably faster on cable obstacles.

If i was to do it over again there are some things I would definitely do over.
1. Do this as soon as I get the board instead of waiting until it broke, This would cut down on the amount of screws used
2.Use the epoxy resin as sparingly as possible when applying to cut down on the added weight.
3. Trim the fiberglass matting in an hour glass shape on the top of the board to cut down on weight as well so it is majorily the sidewalls & middle concave that get re-enforced.
4. Not Put the base layer of epoxy on the board as it was almost unnecessary. If were to use any on the base it would only be a minimal amount on the edges to fill in the gap where the fiberglass matting is trimmed. After that is done I would still sand the edges to a rounded shape again.
Nonetheless I would still consider this one successful, just trial and error to dial it right. I definitely Plan on doing this again to the next wood concave I get. I will keep updating this thread as I go along.
So what should I name her?!?!
I'm torn between 2 names.. its either BIG RED or BLOODY MARY  |
|
| Back to top |
|
|
|
|
|


